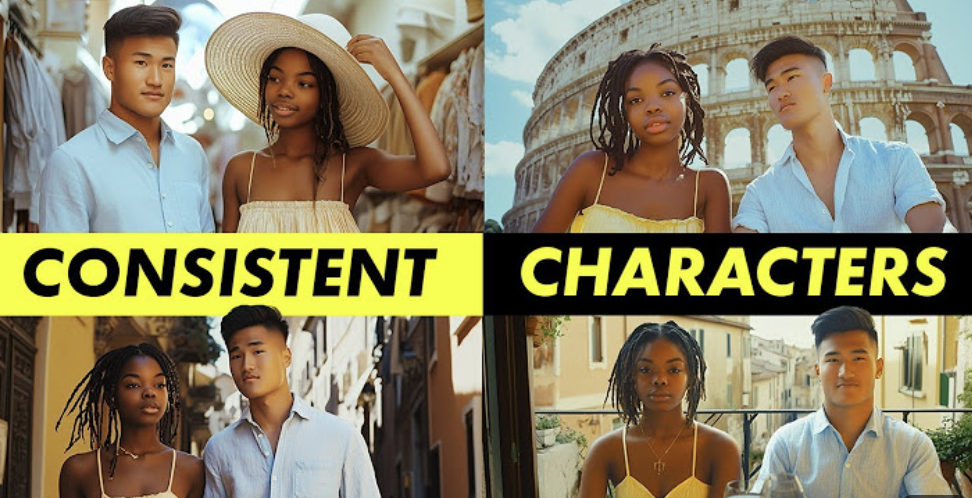
Creating AI-generated videos with consistent characters is a common request, so let’s dive into the process. We’ll follow two characters on their vacation to Italy, using tools like MidJourney and Kling to make it happen. Although it’s a straightforward process, there are several tips and tricks to ensure the best results. Let’s break it down step by step.
Step 1: Generating Reference Photos with MidJourney
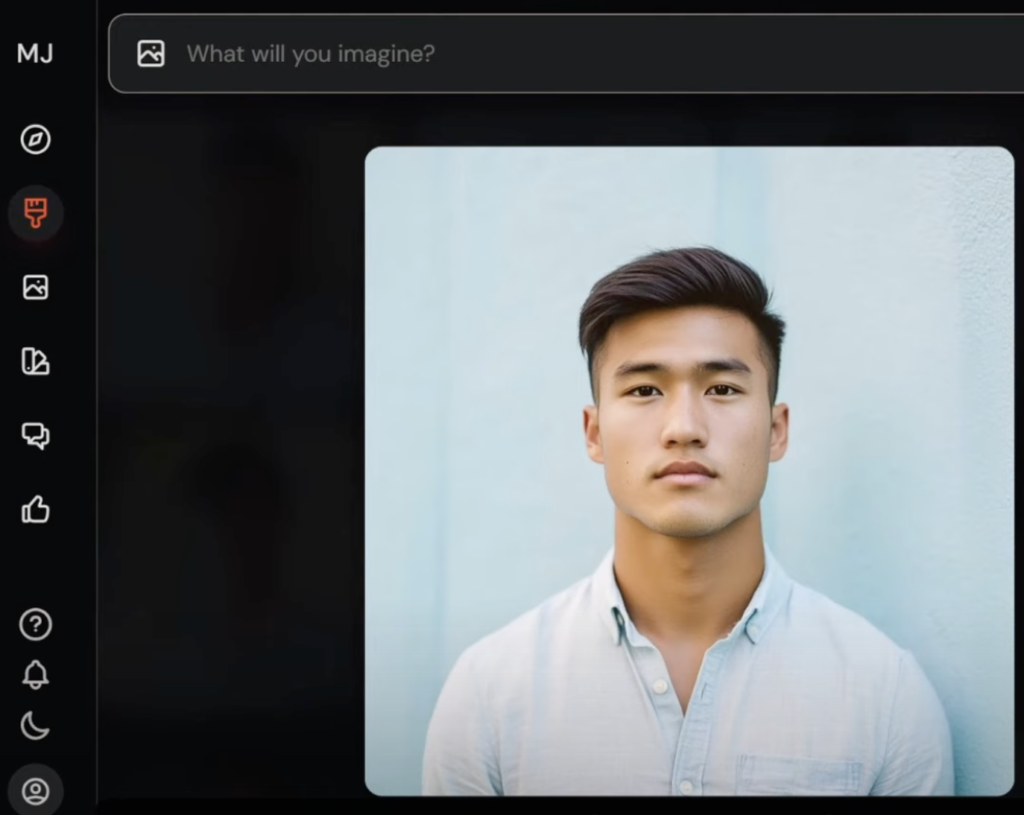
The first step is to create reference images of your characters using MidJourney. Detailed prompts are key here, as they help maintain consistency.
For example, include specifics like hairstyle, ethnicity, age, and exact clothing. For the male character, I used a prompt that described him with a comb-over hairstyle, wearing a light blue button-up shirt.
For the female character, I mentioned her medium-length dreadlocks and a yellow sundress with thin shoulder straps. Hair length is particularly important to specify, as MidJourney can otherwise generate varying styles.
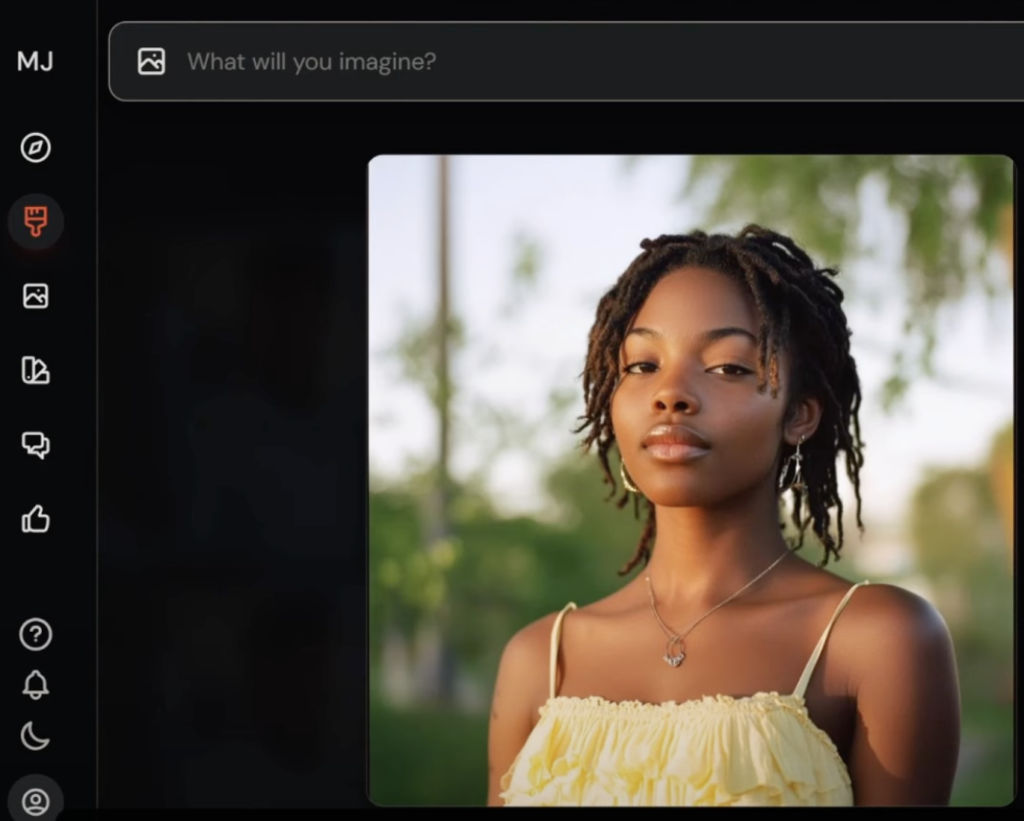
Using the same camera or film type, like Kodak Portra 400, for both characters is also helpful for consistency. Save these prompts—you’ll need them later.
Step 2: Creating Base Images
Next, we generate what I call “base images”—photos of the locations or settings that we’ll place our characters into. For example, we can start with a wide-angle shot of a man and woman sitting outside the Colosseum on a bright, sunny day. This serves as the foundation where we’ll add our characters.
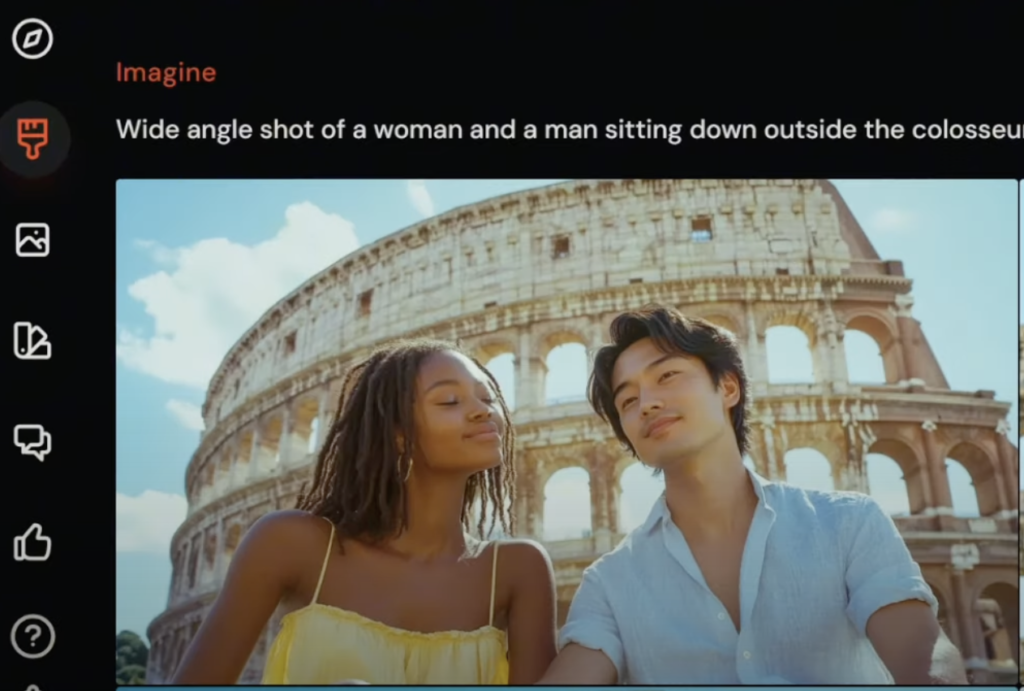
To do this, use the same detailed descriptions as before for both characters. Position the female character on the left side of the image and the male character on the right, each with their respective details. Using the same film type and aspect ratio, like Kodak Portra 400 with a wide aspect ratio, helps create a cohesive look.
Step 3: Injecting Characters into the Scene
Once we have the base image, it’s time to inject our characters into the scene. Locate your reference photos, copy the image URL, and head back to the Colosseum image.
Use the editor to erase parts of the placeholder character that you want to replace, like the head. Then, paste in the reference photo’s URL, selecting the person icon to use it as a character reference. This helps bring the character to life in the base image. Repeat the process for the female character, ensuring that both match the reference photos closely.
Step 4: Refining the Details
After placing the characters into the scene, further refinement may be needed. Use the editor tool to adjust any inconsistencies. For instance, if the character’s earrings or arm size don’t look quite right, you can erase and tweak those areas. Adjusting small details like these can help maintain the overall aesthetic of the scene, making the characters appear more natural and consistent.
Step 5: Generating Multiple Images and Scenes
To create more scenes of the vacation, like shopping in Rome or dining at a cozy trattoria, follow a similar process. Adjust prompts to include different settings or actions, like the characters walking through the city or wearing specific clothing items. For instance, adding a detail like the male character wearing khaki pants can help MidJourney generate images that show their full bodies rather than just the torso.
When adding more dynamic scenes, such as the characters talking or interacting, you can specify actions like “speaking to each other” in your prompts. This helps set the stage for creating more lively AI-generated videos.
Step 6: Animating with Kling
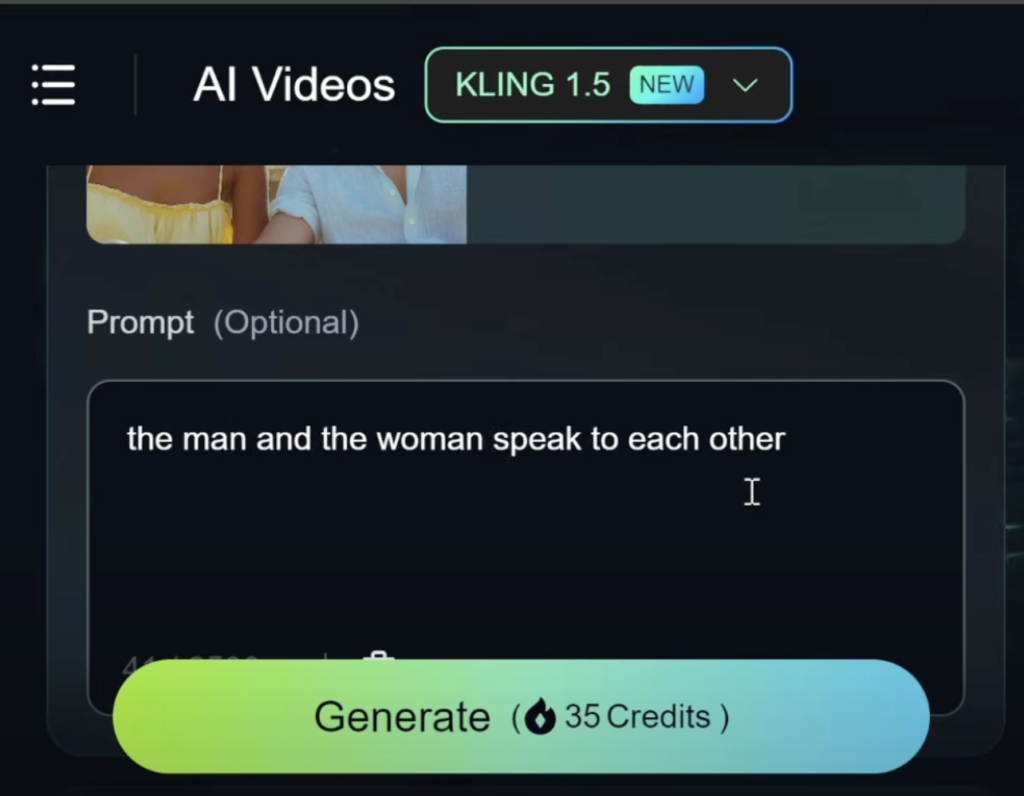
With your images ready, it’s time to animate them using Kling AI. This tool adds dynamic motion to your characters, bringing them to life. Upload the image, describe their interaction in the prompt (e.g., “the man and woman speak to each other”), and adjust the relevant settings to fine-tune the motion. Higher slider settings can make the video follow the prompt more closely, adding expressiveness to gestures and facial expressions.
The expressiveness you get with Kling is impressive, with detailed arm movements, facial expressions, and body language. While some minor artifacts and blurring can occur, Kling does an excellent job of adding lifelike qualities to characters. If consistency is your top priority, you might also explore tools like Runway or Luma for video generation.
Final Touches and Storytelling
With the animated scenes completed, let’s take a look at how their Italian adventure unfolds. Kim and Lisa wander through the sunlit streets of Rome, soaking in the vibrant atmosphere. Though Kim planned a visit to the Colosseum, spontaneous Lisa led them to a hidden boutique where she found the perfect hat. Later that evening, they enjoyed pasta and wine at a cozy trattoria, savoring the timeless charm of the city.
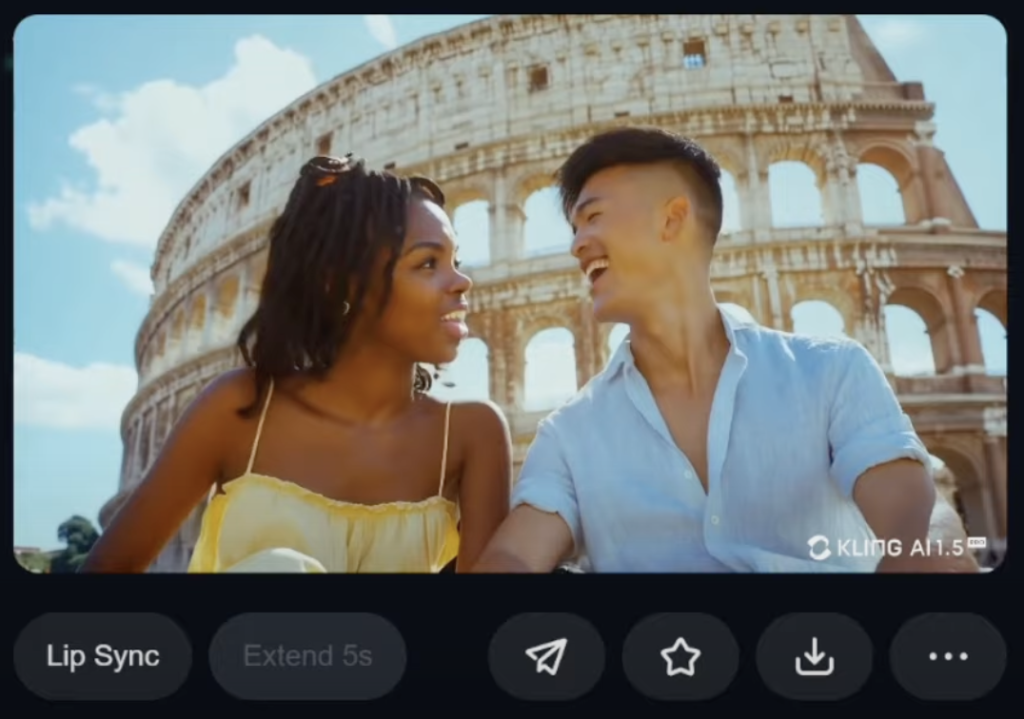
And there you have it—a virtual vacation captured through AI-generated images and video. If you want to learn more about how to prompt for high-quality human motions in Kling, check out the resources I’ve linked.
By following these steps, you can create captivating AI videos featuring consistent characters across different scenes. It may take a bit of trial and error to get the perfect character references, but don’t give up—each iteration brings you closer to a polished final result.
Happy creating!
Read related articles in our Blog.
